You have a digital camera and are busy documenting your life and experiences. But so often the images that appear on the screen (or in print) are so very different from the experiences...
Dull, with flat lights, weak colours or strange colour casts, disturbing things on it, here and there dirt on the sensor or other "mistakes".
In the past, wet chemistry and craftsmanship in the darkroom were the only help to optimize images. Today we all have handy and easy to use tools at hand. Only... how do you use them?
Welcome to the basic course Digital Magic!
THEMES
We get to know the most important tools to understand and analyze our images. This understanding forms the necessary basis to change the images in a targeted and successful way.
We also touch on the camera technology and the effects of the most important settings of the cameras, so that you can create a raw image with the right tools when creating the images, which can be refined into a magical work by means of "digital magic".
I accompany you with very simple and applied examples on the way to master the image analysis yourself as well as to be able to apply the most important tools independently to your images. After the course you will be able to quickly and pleasurably develop much better images.
A few keywords from the course: histogram, RGB color values, depth of field, stamp tool, resharpening, gradation curve, masking, etc.
A small selection of sample pictures:
(mouse pointer over image = see original)
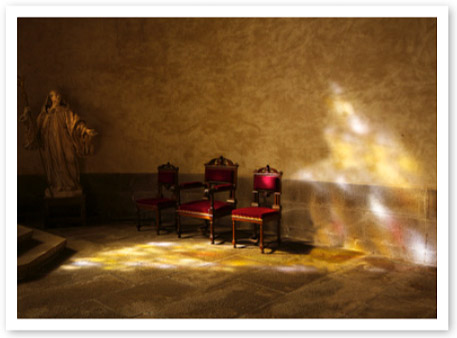
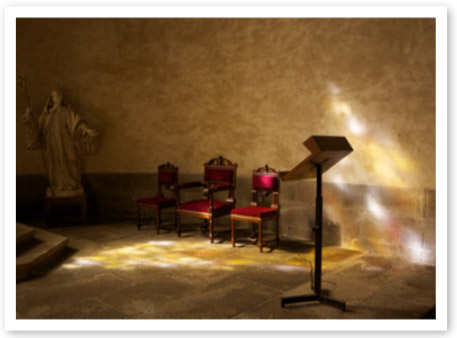
The lights in the cathedral were more dramatic and there was "stuff" around that I wasn't allowed to remove on the spot... I did that in the digital lab.
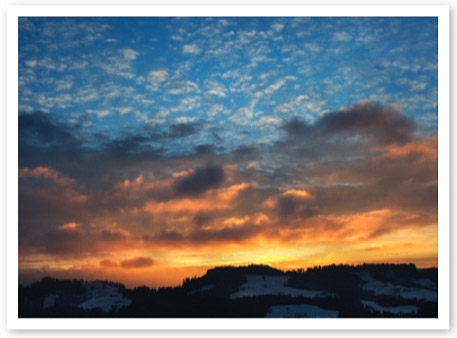
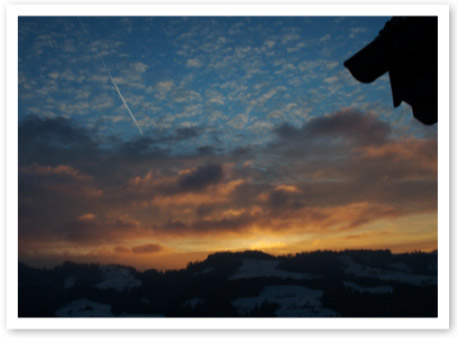
A house roof rises into the picture, a plane leaves its "little hutch" in the otherwise so beautiful sky and the glow of the sky was also stronger locally... Nothing that could not be improved. The atmosphere was valuable enough for me.
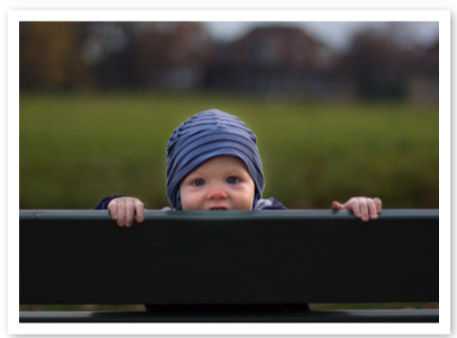
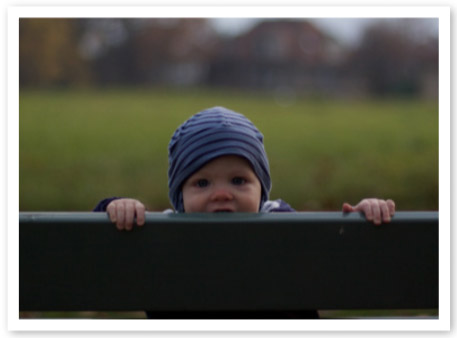
Children don't wait for optimal lighting situations... the relative backlighting situation was too much for the chip here. The face had to be brightened.
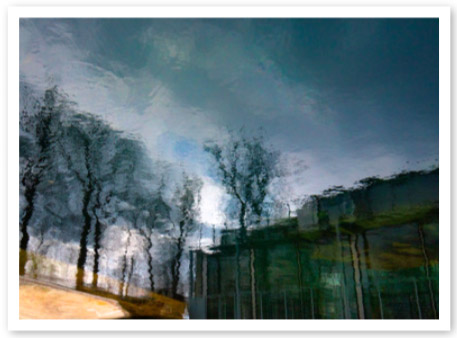
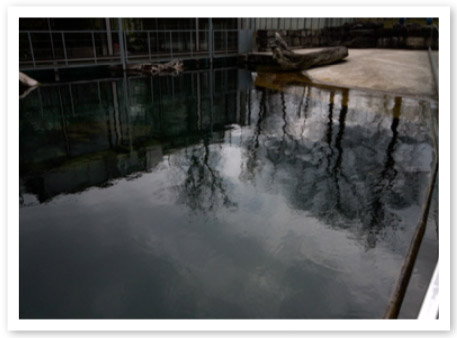
A scene where the reflection was "my picture". But the chip could not reflect the felt situation the way I wanted it to. That's why the digital laboratory was used.
ABLAUF
- Introduction to the methods of image analysis. How to look at an image?
- How to find out which aspects have to be corrected/optimized?
- Introduction to the most important tools of the digital laboratory. Demonstrate how the tools work .
- Concrete use of the tools. How do we use the tools to correct certain problems?
- Common analysis of typical image problems.
- Joint machining with simple steps. “Hands on” - You use the tools yourself.
- Discussion of the results and clarification of open questions.
DURATION
2 evenings, each 2.5 - 3h
In between, homework exercises.
TARGET GROUP
All persons interested in digital photography. Basic knowledge of Mac/PC is helpful, but not mandatory. No special software knowledge necessary.
Computer / Software:
A computer and software are available in the course room. So you can get to know a range of programs already in the course. From easy-to-use, free programs to integrated photo management and editing suites to professional Photoshop applications, there are various instruments at your disposal. If you have a laptop, you can of course also bring it with you and work with it.
LECTURER / COURSE INSTRUCTOR
TERMINE
Momentan keine Termine festgelegt. Melden Sie mir Ihr Interesse - dann informiere ich Sie gerne.
EVENT LOCATION
Bern, Schweiz.
COSTS
SFr 280 per person
After the course, participation includes 6 months of access to a virtual classroom for exchange after the course with direct contact with the teacher.
REGISTRATION & INFORMATION
Punctum Saliens GmbH
Roland Vögtli
Hochfeldstrasse 113
3012 Bern
workshop@punctumgallery.ch
++41 (0)76 566 19 55


